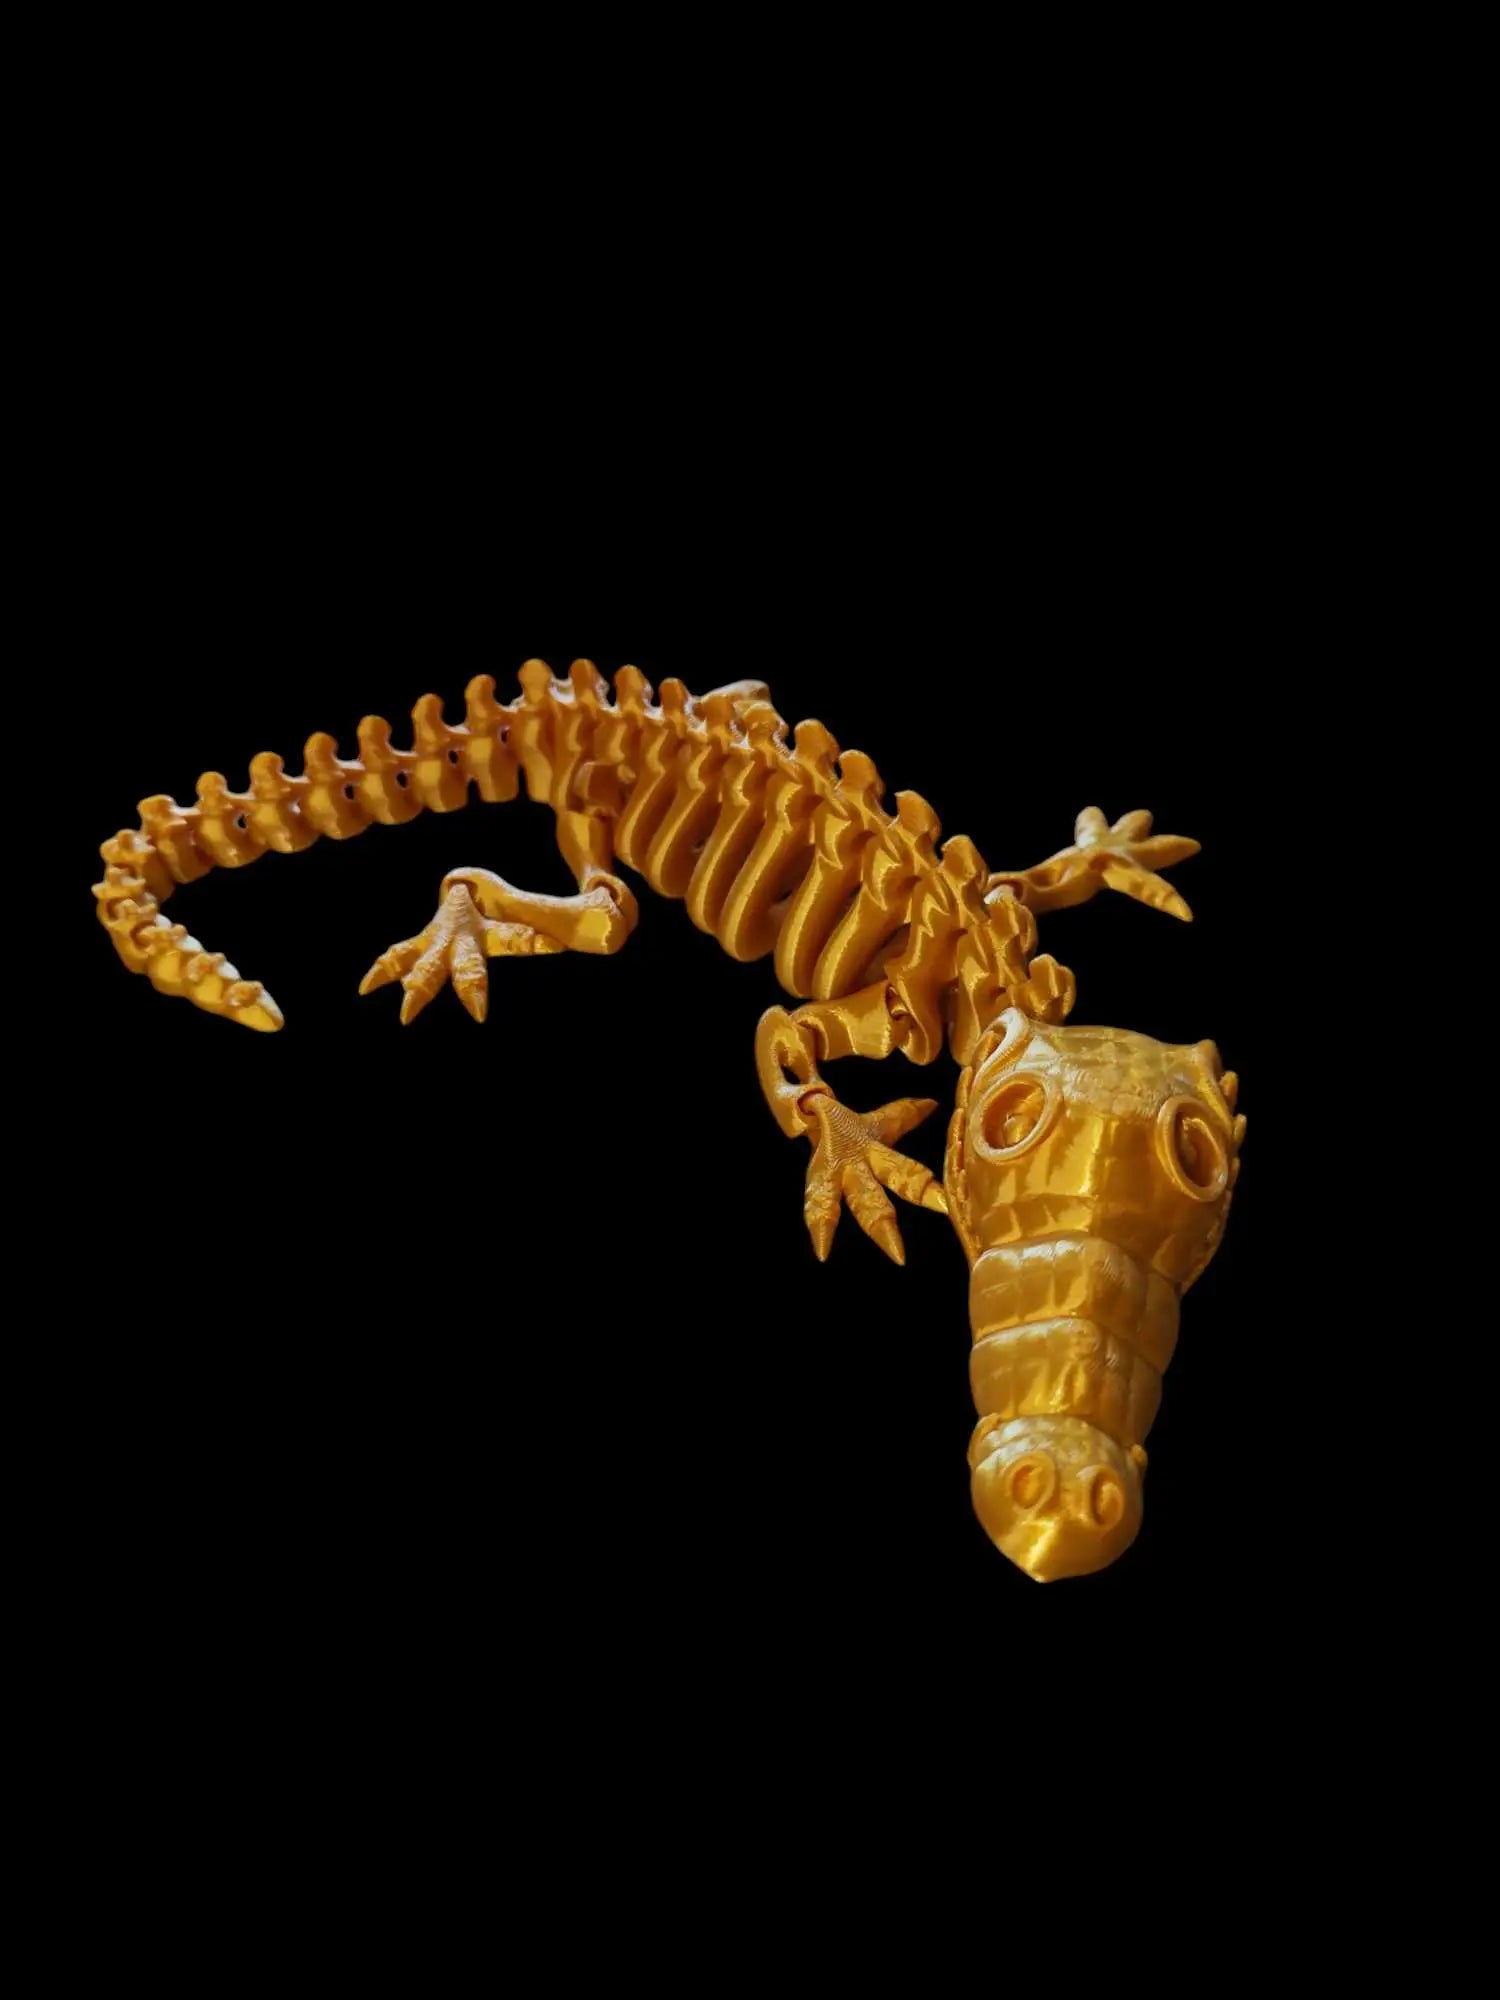
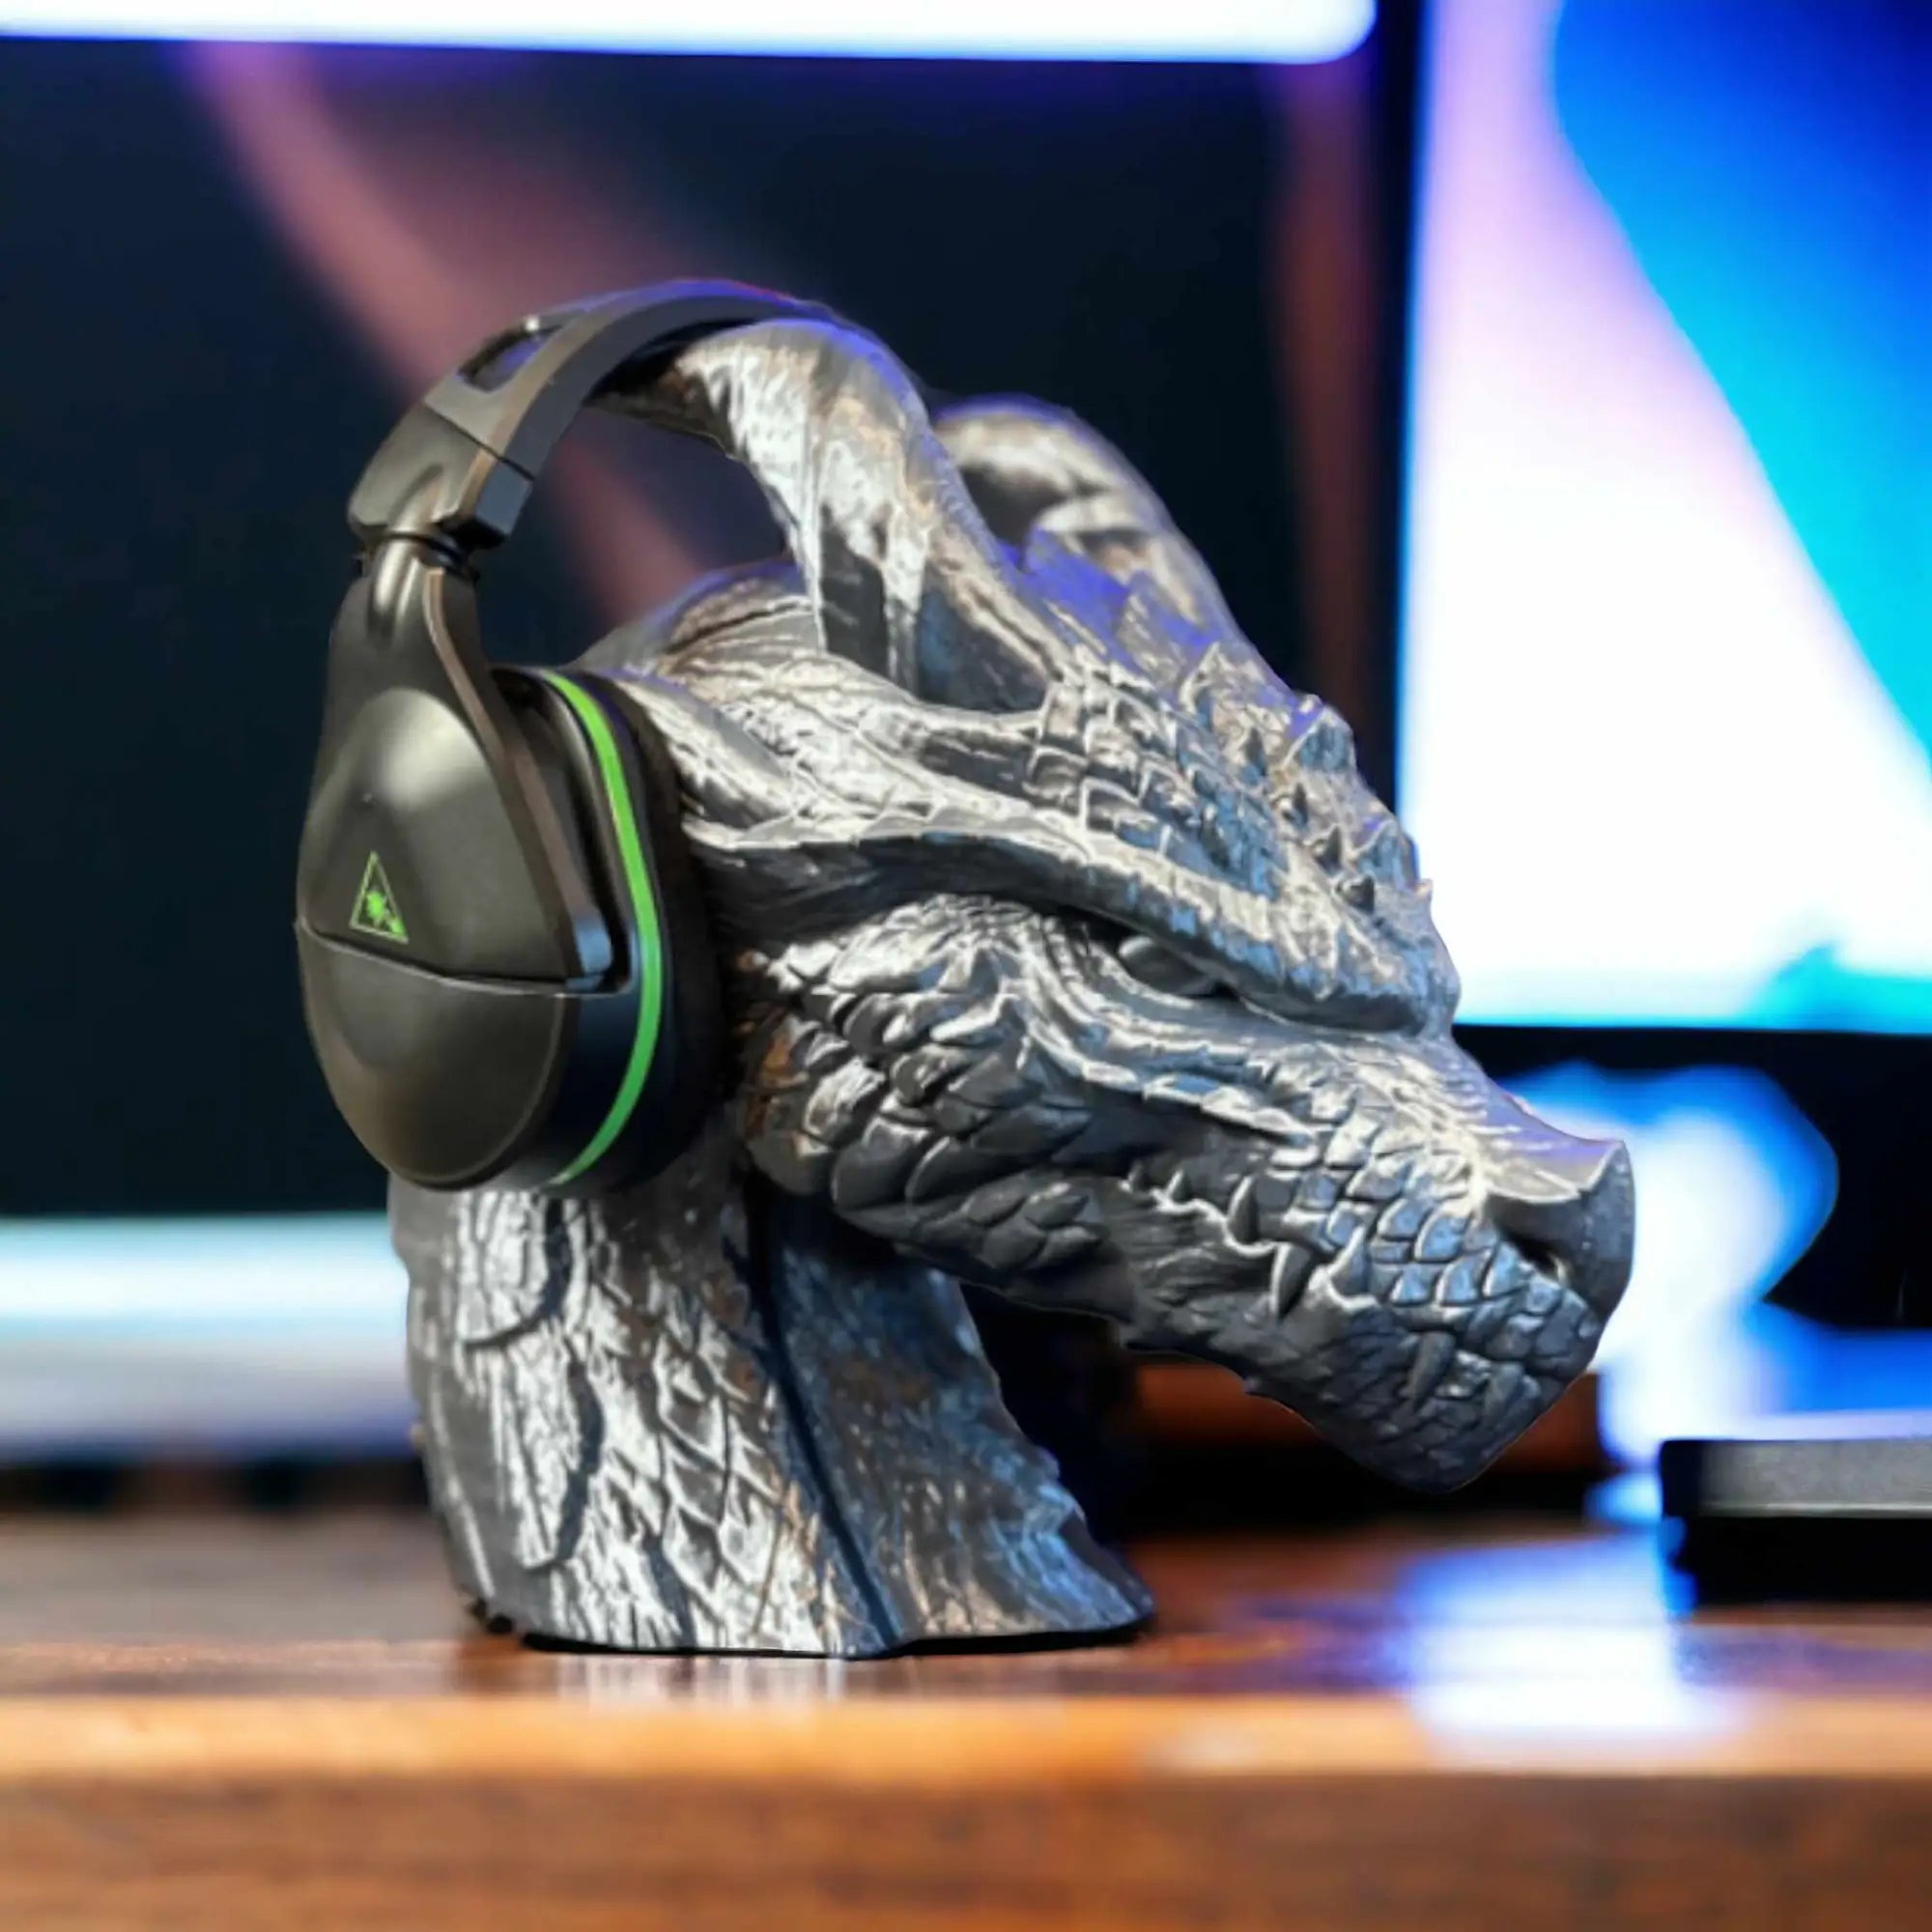
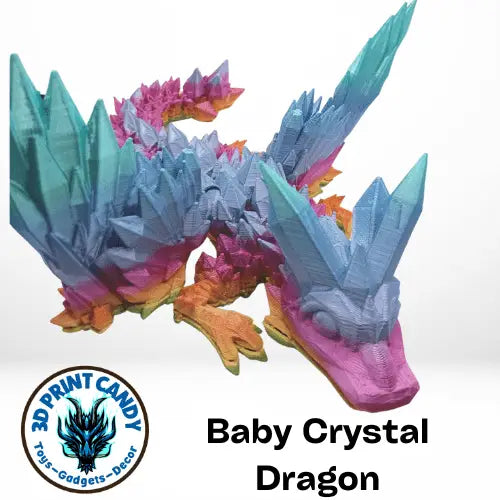
In the rapidly evolving world of 3D printing, one area that has captured the attention of hobbyists, artists, and collectors alike is the creation of **3D printed animal figures**. These lifelike representations of wildlife, pets, and even fantastical creatures are a brilliant example of how technology meets artistry. Whether for personal collection, educational purposes, or home decor, 3D printed animal figures offer a unique way to bring your favorite animals to life.
In this article, we'll explore the process of how **3D printed animal figures are made**, from design and material selection to the final finishing touches. By optimizing for search engines, this article will also serve as a resource for those searching to learn more about the fascinating world of 3D printed animal models.
## What Are 3D Printed Animal Figures?
**3D printed animal figures** are detailed, three-dimensional models of animals created using 3D printing technology. These figures can range from simple, stylized designs to highly realistic, anatomically accurate models of animals. The versatility of 3D printing allows creators to print figures of any size, from small trinkets to larger sculptures.
Using advanced 3D modeling software and various materials, artists can craft representations of real animals, such as pets and wildlife, or imaginary creatures like unicorns and dragons.
## How 3D Printed Animal Figures Are Made: Step-by-Step
### 1. **Concept and Design**
The first step in the process of creating **3D printed animal figures** is designing the model. Artists and 3D modelers use specialized software, such as **Blender**, **ZBrush**, or **Tinkercad**, to create a digital representation of the animal. This can be a simple geometric shape for a stylized figure or a complex, highly detailed model for a lifelike creation.
- **Reference Images**: For realistic animal figures, artists often use reference images or anatomical data to capture the exact proportions, poses, and textures of the animal. This ensures the final model is as accurate as possible.
- **Stylized vs. Realistic**: Some artists prefer to create stylized animal figures, exaggerating features like big eyes, elongated limbs, or rounded shapes for a cute, cartoonish effect. Others aim for hyper-realism, with detailed fur textures, muscle structures, and lifelike poses.
Once the model is ready, it is saved in a format such as **STL** or **OBJ**, which is compatible with 3D printing software.
### 2. **Choosing the Right 3D Printer and Materials**
The next stage in how **3D printed animal figures are made** involves selecting the right 3D printer and materials.
- **3D Printers**: The most common types of 3D printers used for animal figures are **FDM (Fused Deposition Modeling)** and **SLA (Stereolithography)** printers. FDM printers use thermoplastic filaments to build the model layer by layer, while SLA printers use resin to achieve high-resolution prints with fine details.
- FDM printers are ideal for larger, less detailed models.
- SLA printers are often preferred for smaller, intricate figures, where fine details like feathers, fur, or scales are important.
- **Filaments and Resins**: The choice of material impacts the final look and feel of the animal figure. For standard models, **PLA** or **ABS** filaments are commonly used due to their durability and ease of use. For more intricate designs or premium results, **resins** or even **wood-infused filaments** can add texture and a higher level of detail.
Some artists use special materials, like flexible filaments for models that mimic the movement of real animals or translucent filaments to create a unique visual effect.
### 3. **Slicing the Model**
Once the model is designed and the printer and materials are selected, the next step is to **slice** the model using slicing software such as **Cura** or **PrusaSlicer**. Slicing prepares the 3D model for printing by converting it into layers that the printer will build sequentially.
- **Layer Height**: For detailed animal figures, a finer layer height (0.1mm or less) is often used to capture intricate details like fur, feathers, or scales.
- **Supports**: Many animal models have overhanging parts, such as extended limbs, tails, or wings. In these cases, **supports** are necessary to ensure the parts print correctly without collapsing during the process.
The slicing software also allows the user to adjust the model’s orientation, scale, and infill percentage to optimize the print.
### 4. **Printing the Animal Figure**
After slicing, the model is sent to the printer. Depending on the complexity and size of the animal figure, the printing process can take anywhere from a few hours to several days. During this stage, the printer works layer by layer to bring the digital design to life.
- **Monitoring the Print**: It’s important to monitor the printing process, especially for detailed models with fine features like whiskers or wings. Any disruptions, such as filament jams or warping, can ruin the final product.
- **Print Speed**: Slower print speeds are often used for animal figures to ensure higher precision and smoother surface finishes, especially in delicate areas like the animal’s face or extremities.
### 5. **Post-Processing the Figure**
Once the **3D printed animal figure** is complete, post-processing is necessary to clean up the model and enhance its appearance.
- **Removing Supports**: After printing, the supports are carefully removed. This step requires precision to avoid damaging fragile parts like thin limbs or tails.
- **Sanding**: For a smoother finish, especially on models with visible layer lines, sanding is a common post-processing technique. Artists use fine-grit sandpaper to smooth out the surface of the model, giving it a professional look.
- **Painting and Detailing**: To bring the animal figure to life, many creators choose to paint their models. Airbrushing and hand-painting techniques are used to add realistic coloring, patterns, and shading.
- **Realistic Detailing**: For hyper-realistic models, artists add details like eyes, fur textures, or claws to make the figure look more lifelike. They may also use **weathering techniques** to create a worn or natural look.
- **Custom Paint Jobs**: For stylized figures, bright colors and exaggerated features can be added to create a unique, playful appearance.
### 6. **Finishing and Displaying the Model**
Once post-processing is complete, the **3D printed animal figure** is ready for display. Artists may apply a protective coating, such as a clear lacquer or UV resin, to give the model a glossy finish and protect it from environmental damage.
Many hobbyists and collectors place their animal figures in display cases, while others use them as educational tools, toys, or decor pieces.
### 7. **Customizing and Scaling**
One of the major advantages of 3D printing is the ability to customize each model. Creators can easily resize their designs to create smaller or larger versions of the same animal figure. Additionally, personalization options like unique color schemes, poses, or accessories can make each figure truly one-of-a-kind.
## Conclusion: The Process Behind 3D Printed Animal Figures
The creation of **3D printed animal figures** is a meticulous process that combines digital design, advanced 3D printing techniques, and skilled craftsmanship. From the initial concept to the final finishing touches, each stage plays a critical role in bringing these lifelike or stylized models to life.
Whether you’re a 3D printing enthusiast looking to create your own figures or a collector interested in acquiring unique pieces, understanding how these animal figures are made adds a layer of appreciation for the technology and artistry involved. With the right tools, materials, and techniques, the possibilities are endless for creating custom animal figures that are as unique as the animals themselves.
By focusing on the keyword **3D printed animal figures** throughout the article, and using related terms such as "3D printing process," "animal models," and "3D printed sculptures," this article is optimized for search engines, ensuring that it ranks well for readers searching for information about 3D printed animal figures.


Leave a comment
This site is protected by hCaptcha and the hCaptcha Privacy Policy and Terms of Service apply.